Step 1 – Turn on Jetpack Social for your website
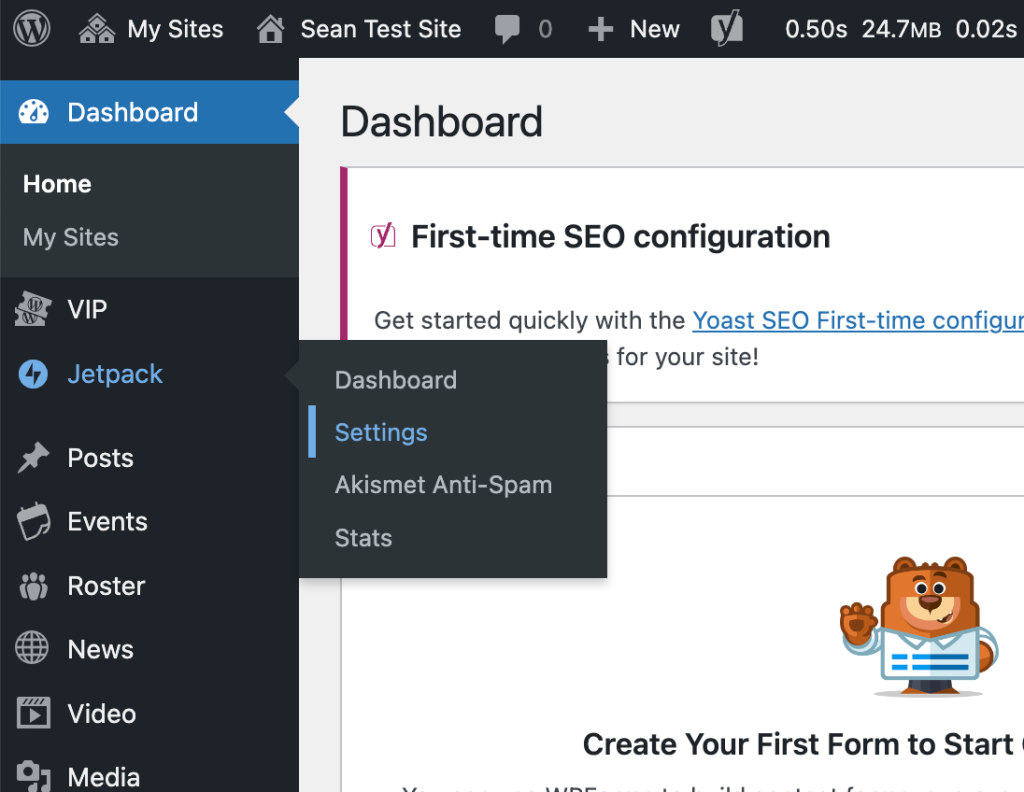
Visit the Dashboard for the website and choose Jetpack –> Settings
On the Jetpack settings page, scroll to the bottom and click on the “Modules” link from the Jetpack page footer menu.
On the Modules page, scroll down the list of modules to find Jetpack Social. Then click “Activate” to turn on Jetpack Social for your website. Once the page has refreshed, scroll down the list of modules again to Jetpack Social, then click “Configure”
When the configuration page opens, click on the “Connect your WordPress.com account” button.

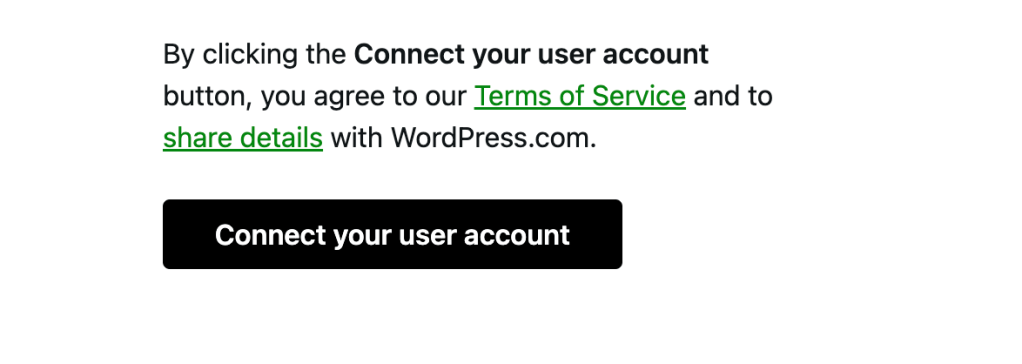
In the pop-up window, click the “Connect your user account” button.
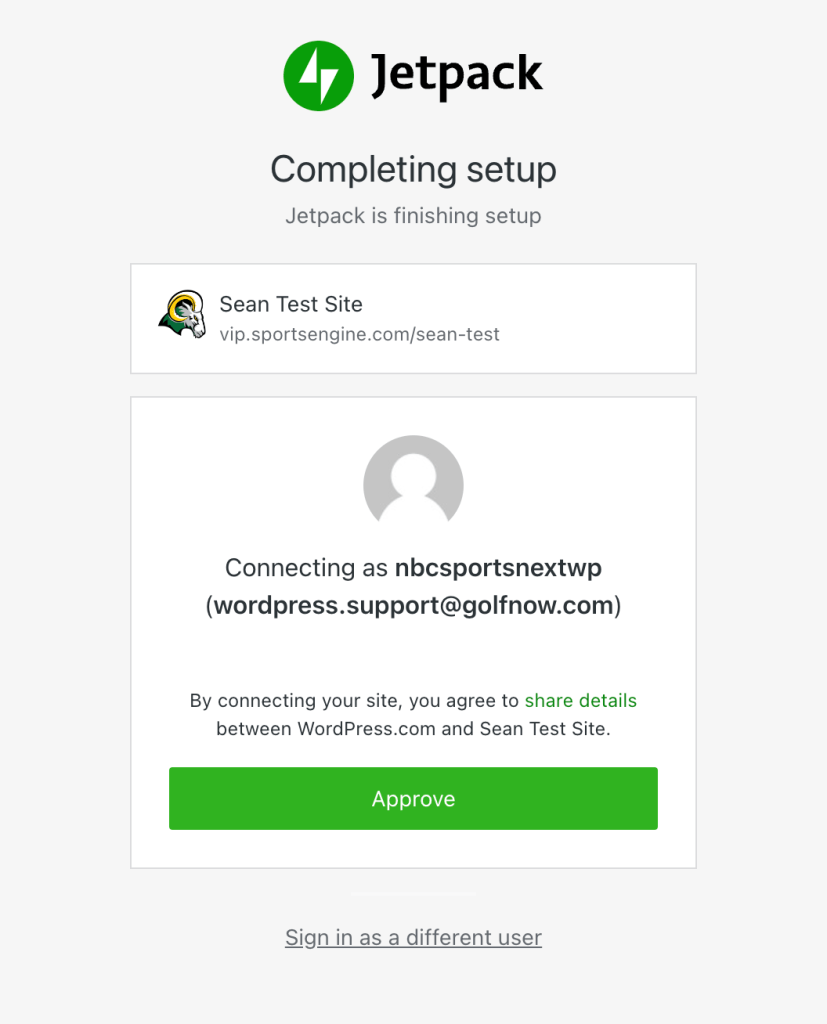
Enter the account information to complete connection. Once entered, click “Approve” to complete the setup.
Step 2 – Add the Latest Instagram Posts block to website
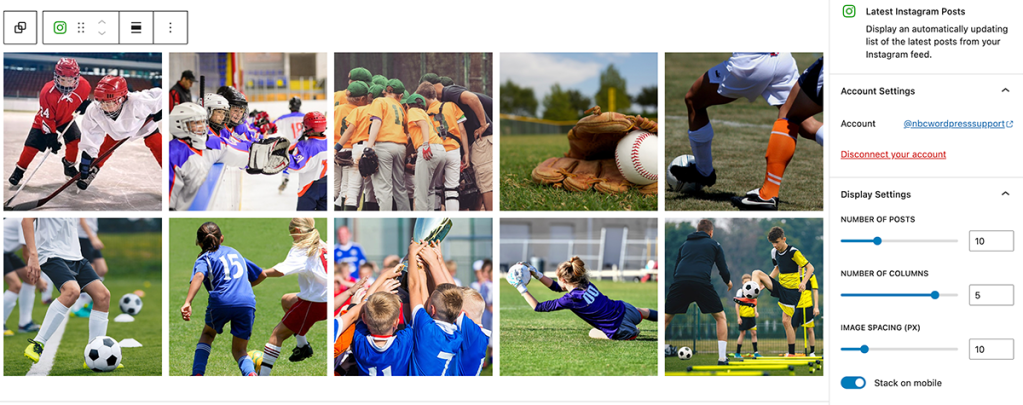
Once the above steps are completed, return to the website and add the Latest Instagram Posts block. Be Sure to choose the Latest Instagram Posts to add the grid style Instagram posts.
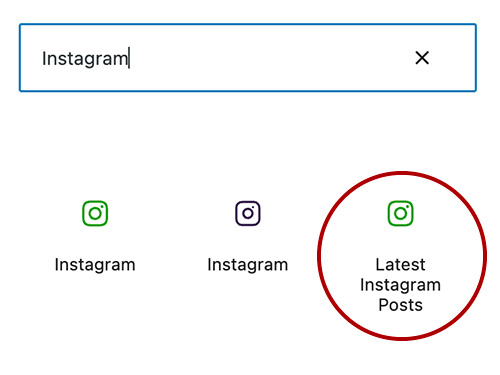
Once the block has been added, you will be prompted to connect to your Instagram account.
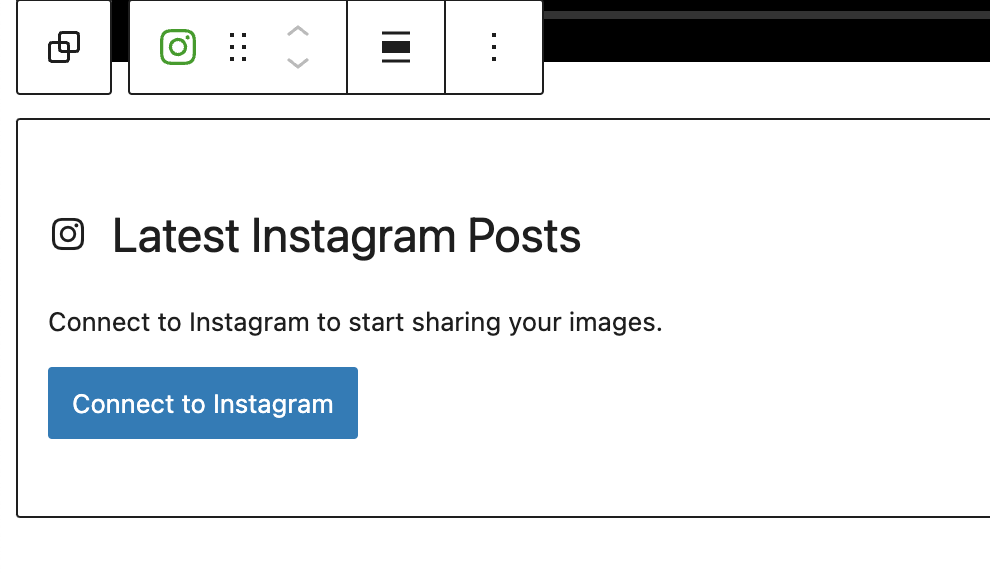
Click “Allow” on the next screen to authorize cookies and sharing.
You should now see your Instagram post images. You can use the options panel on the right side of your page editor to adjust Number of Posts, Number of Columns and Image Spacing. We recommend starting with 10 posts over 5 columns with image spacing set to 10, but this can be customized depending on layout and personal preference.
